System Administration
Guideline - vCenter to Centralize Managing ESXi Hosts
A step-by-step guide to deploying VMware vCenter Server Appliance (VCSA) 6.7 for centralized ESXi host management in lab and production environments.
Preparation
Download and mount the vCenter Server installation media.
Step 1: Download the vCenter 6.7 Image from the official VMware source.
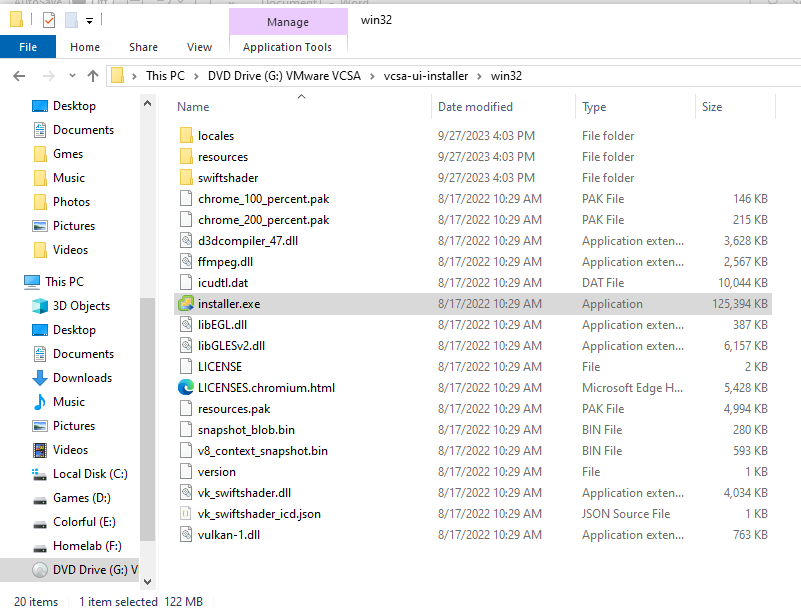
Step 2: Mount the .iso file. Navigate to
virtual mounted iso disk\vcsa-ui-installer\win32 and run
installer.exe.
Stage 1: Deploy Appliance
Follow the wizard to deploy the vCenter Server Appliance (VCSA) to your ESXi host.
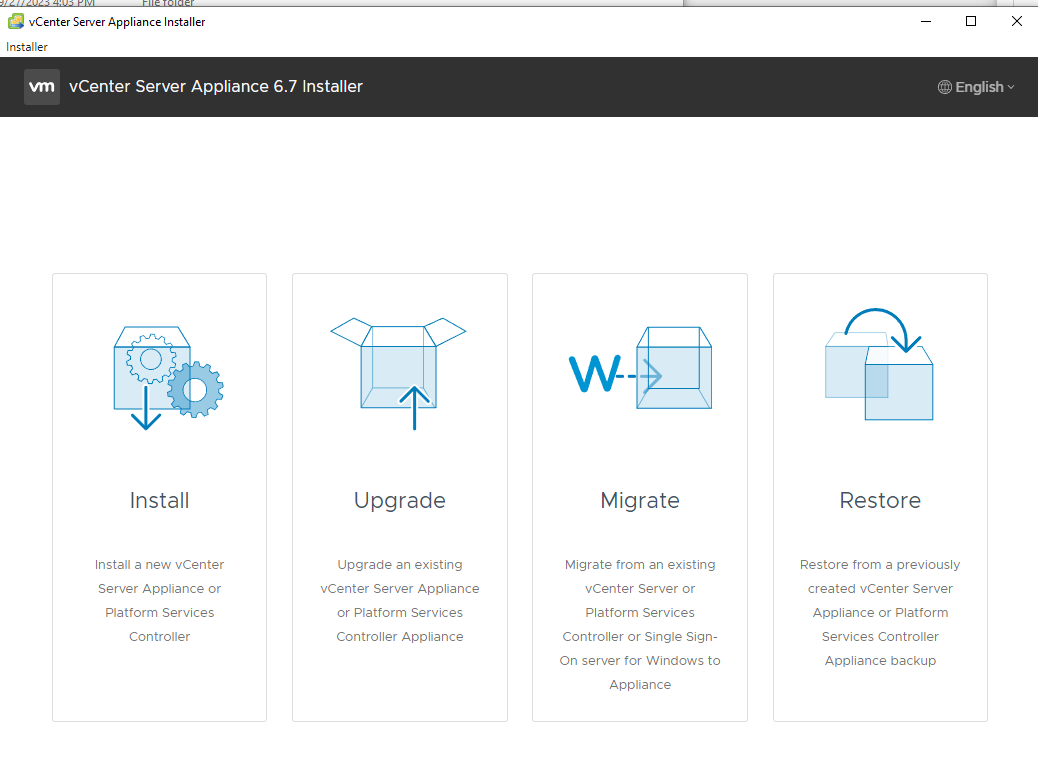
1. Select Installation Type
On the installer welcome screen, select Install.
2. Initial Setup
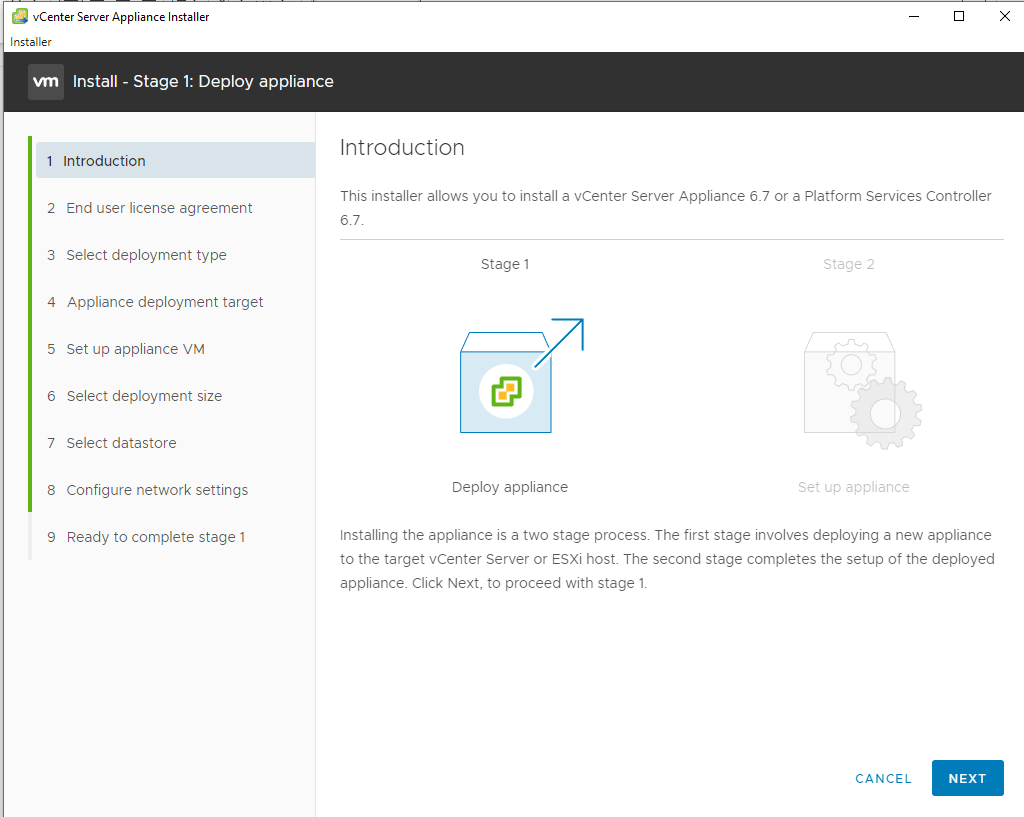
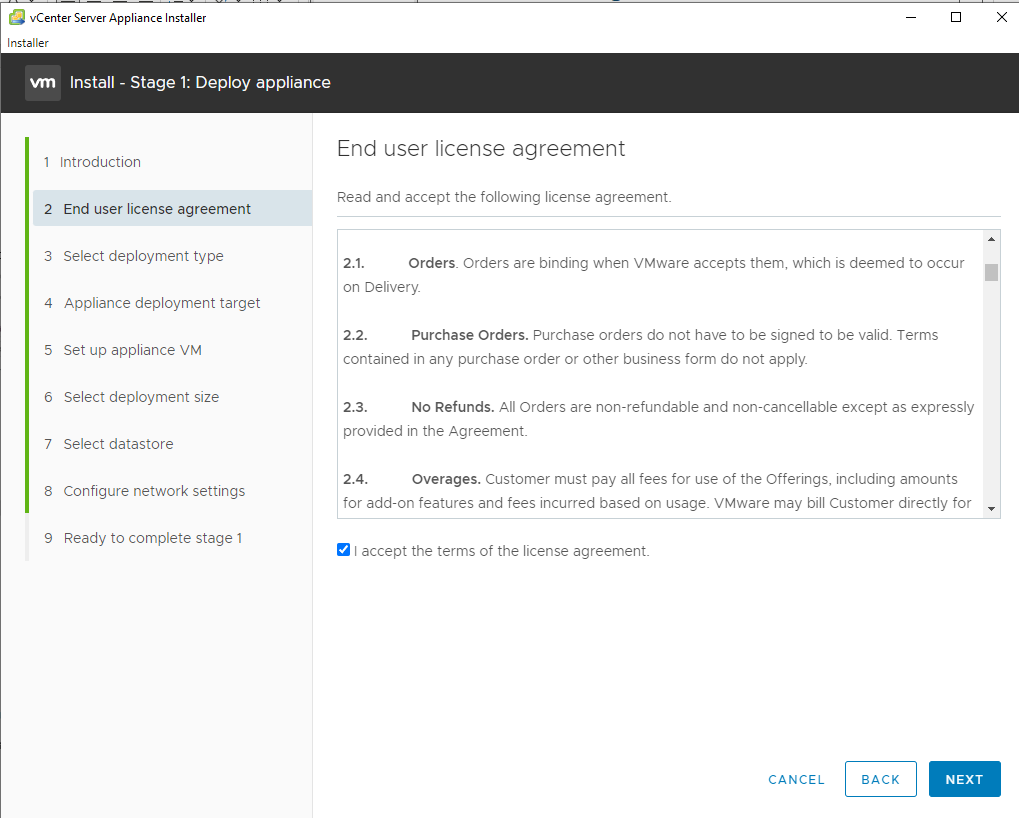
Click Next on the Introduction screen. Read and accept the EULA (License Agreement).
3. Deployment Type
Select vCenter Server with an Embedded Platform Services Controller. Click Next.
Warning: Do not select External Platform Services Controller (EPSC) as it is deprecated.
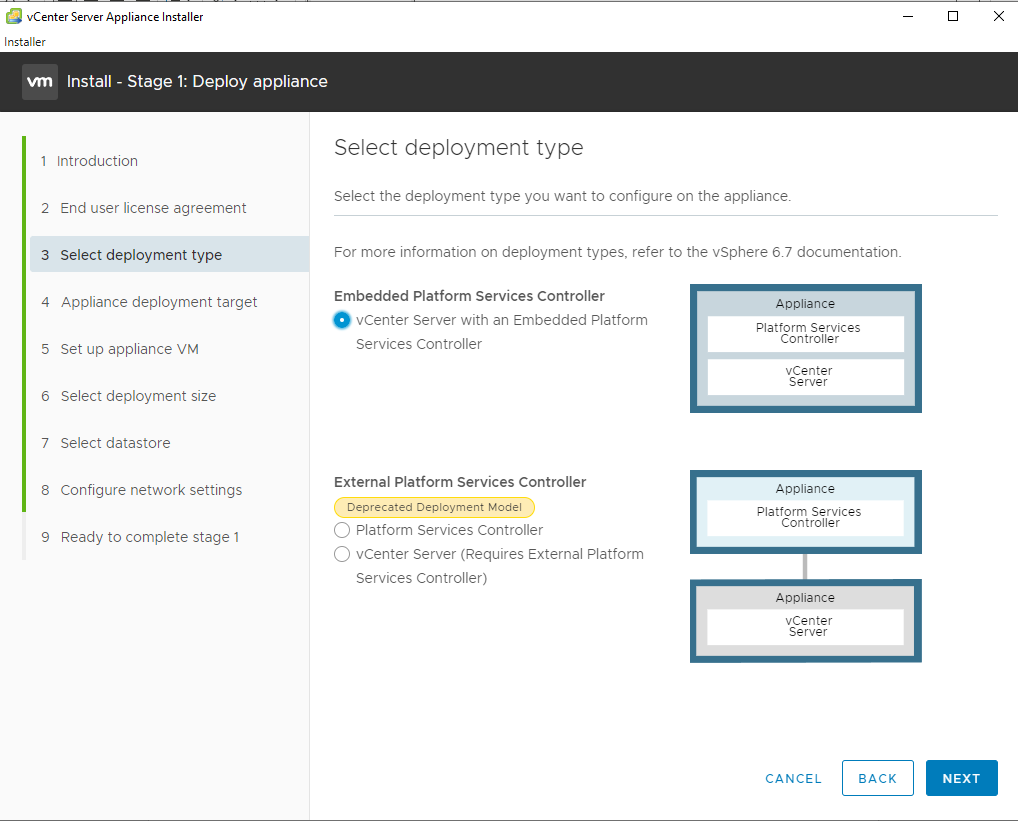
4. Target & VM Settings
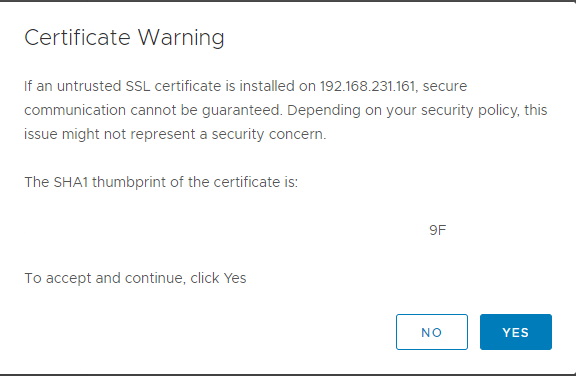
Enter your target ESXi details (IP, HTTPS port 443, Root User/Password). Accept the SHA1 Certificate warning if prompted.
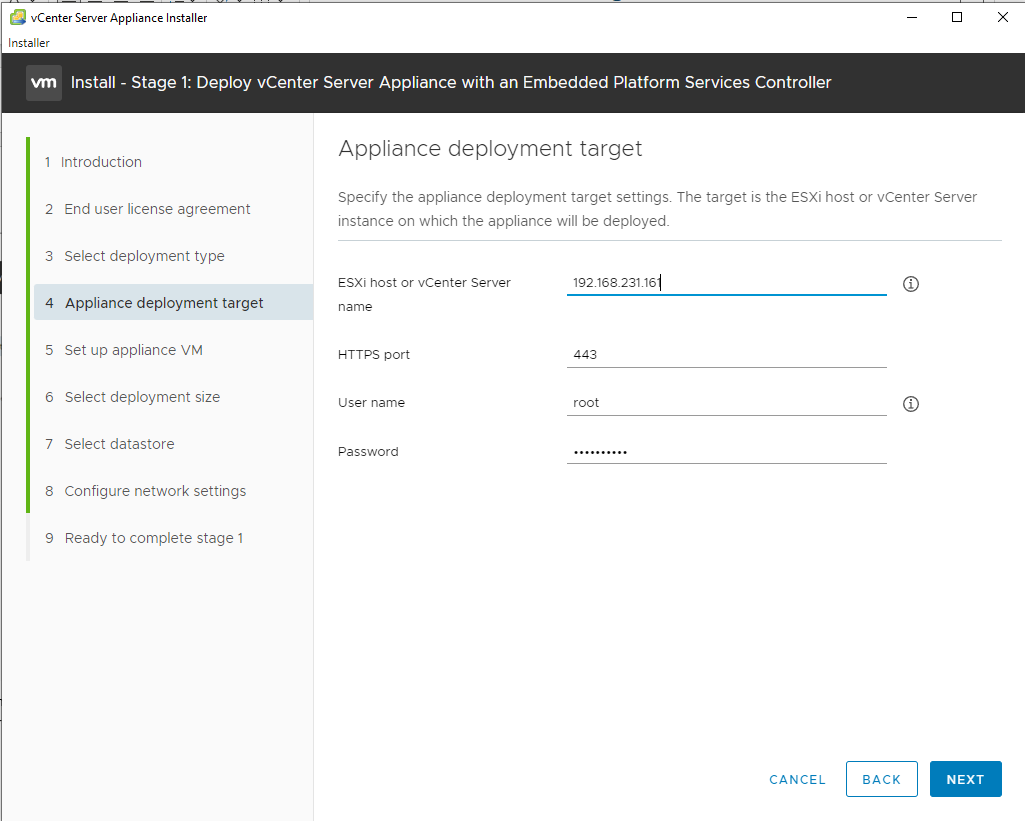
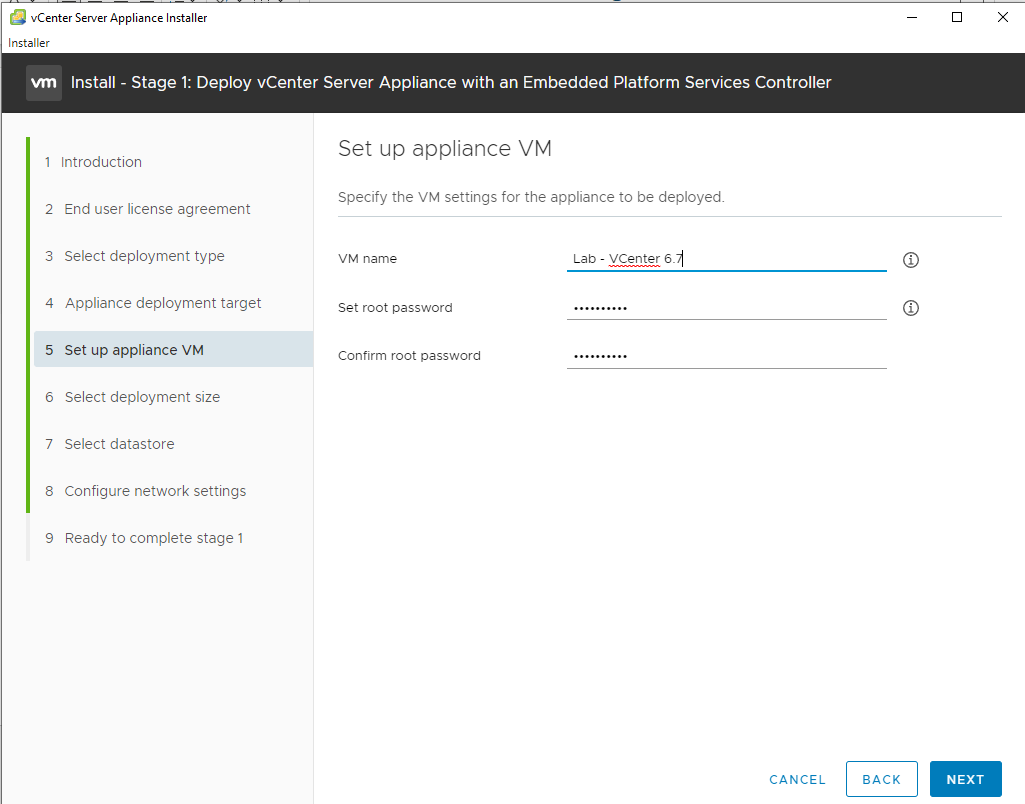
Set up Appliance VM: Name your VM (e.g., LAB – VCenter 6.7) and set a strong root password.
5. Size & Storage
Deployment Size: Choose Tiny/Small for Lab/UAT or Medium/Large/X-Large for Production.
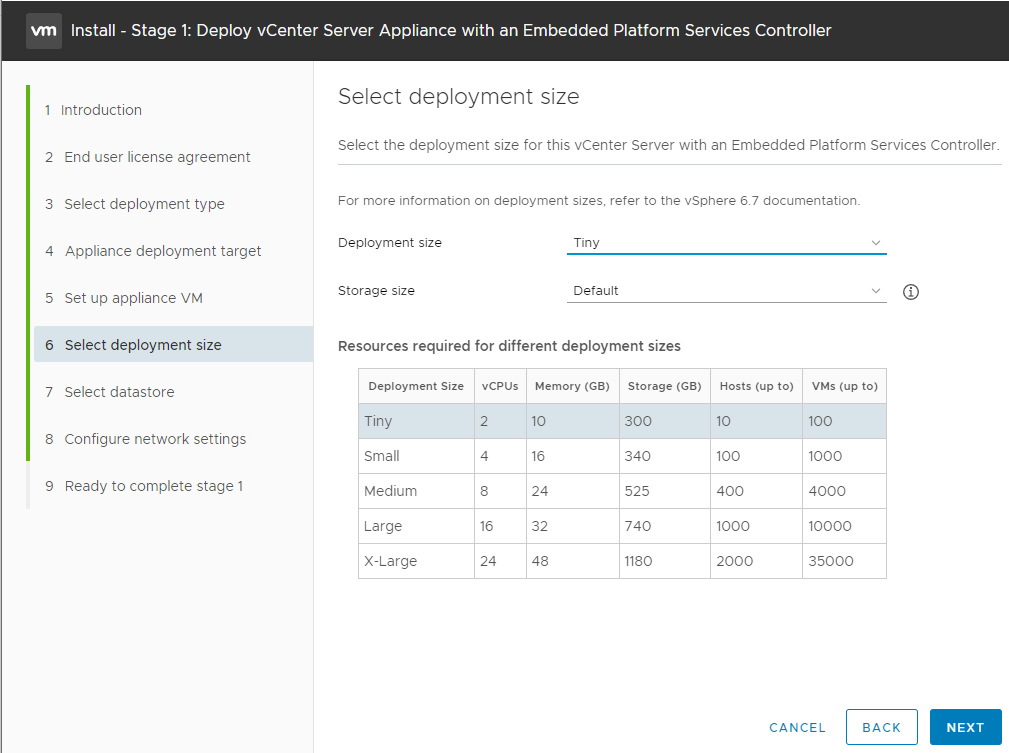
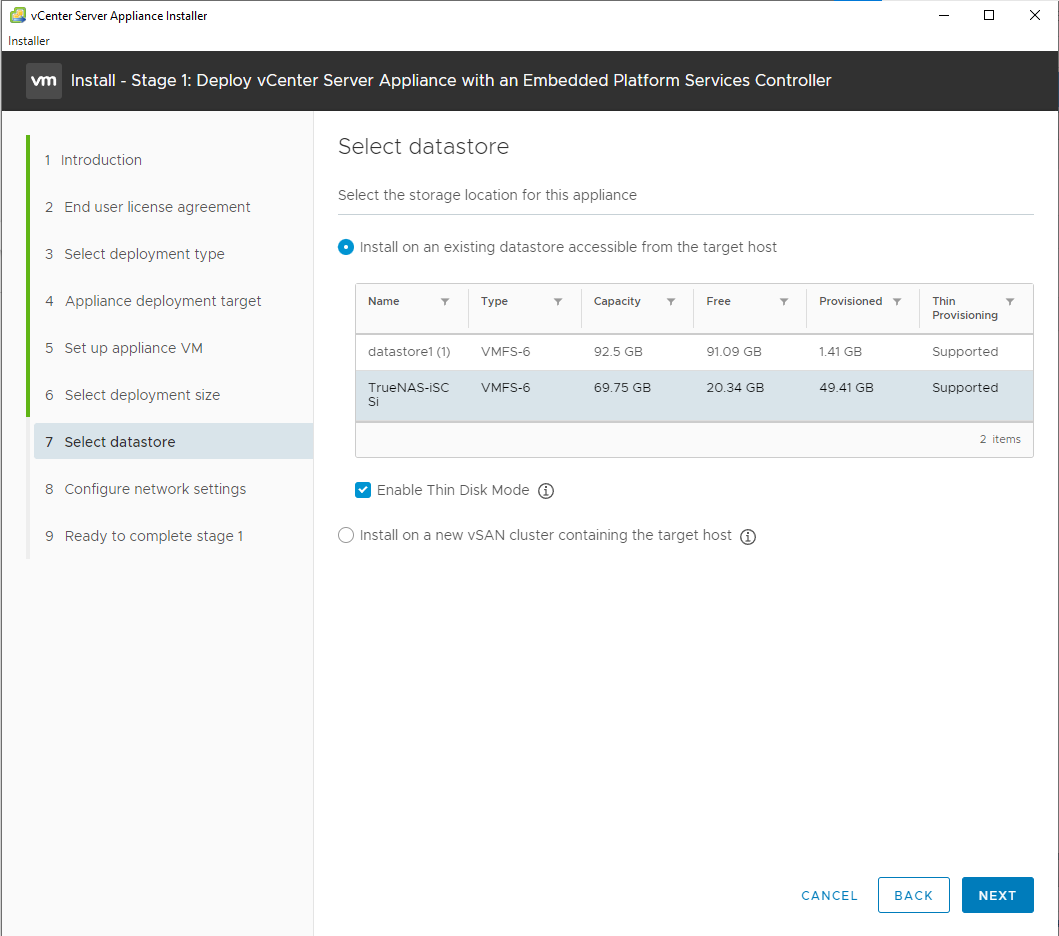
Datastore: Select your storage (e.g., TrueNAS-iSCSI). Crucial: Check Enable Thin Disk Mode to reduce initial usage to ~20GB.
6. Network Configuration
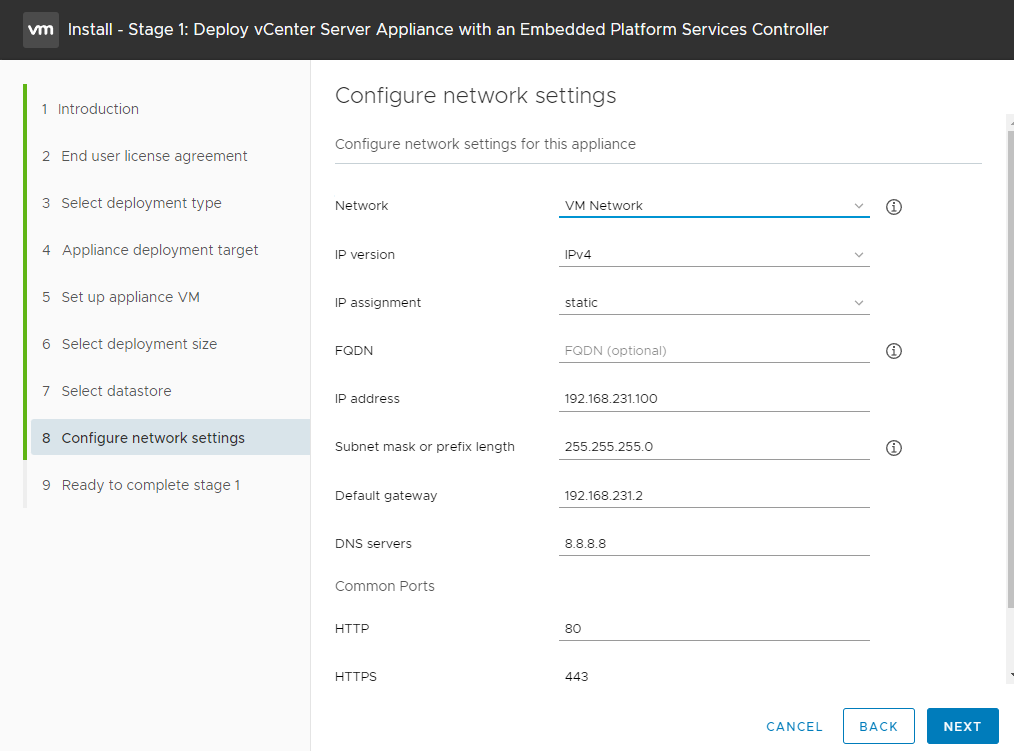
Configure the network to match your ESXi Server:
- Network: VM Network
- IP Assignment: Static
- IP Address: [Your vCenter IP]
- DNS: Public (8.8.8.8) or local default.
7. Finish Stage 1
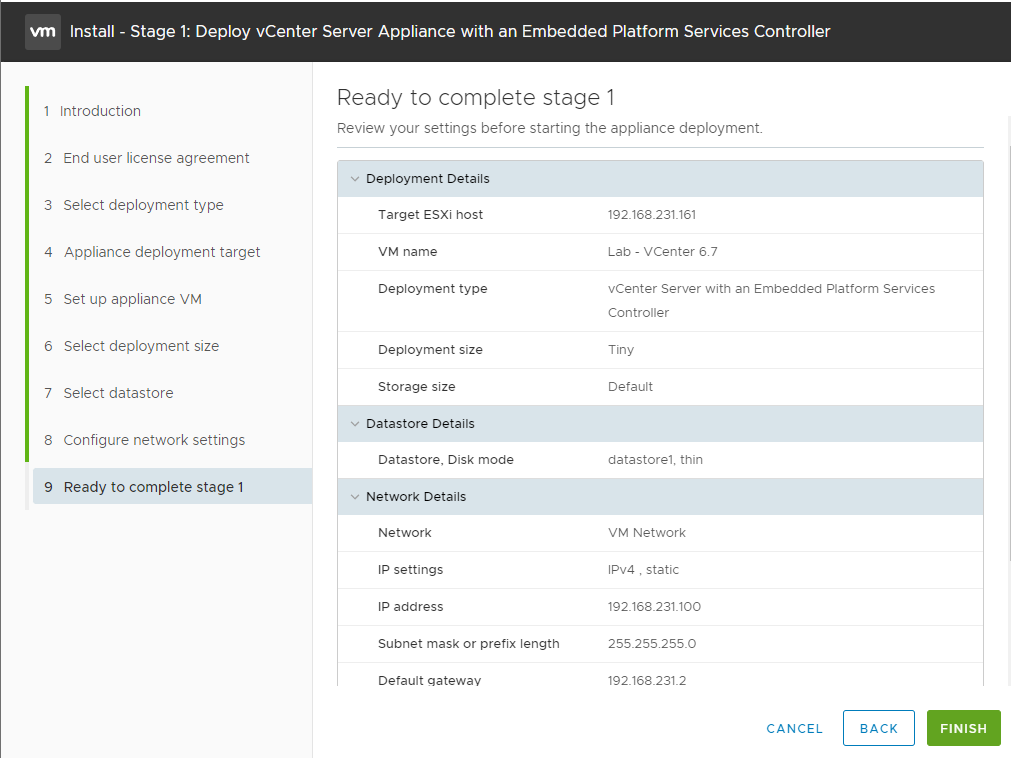
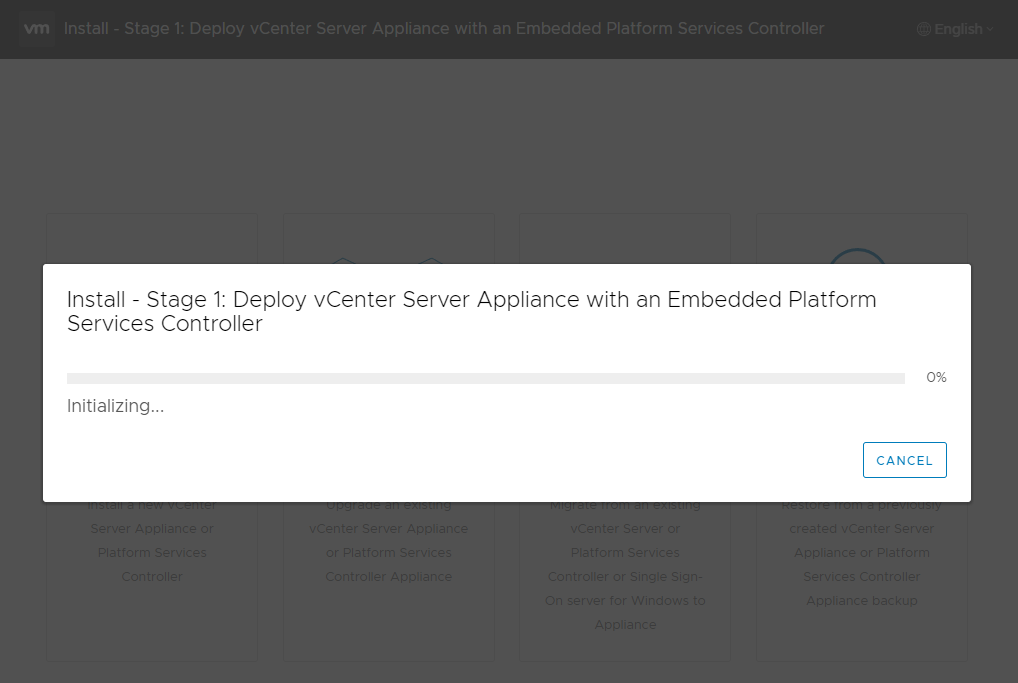
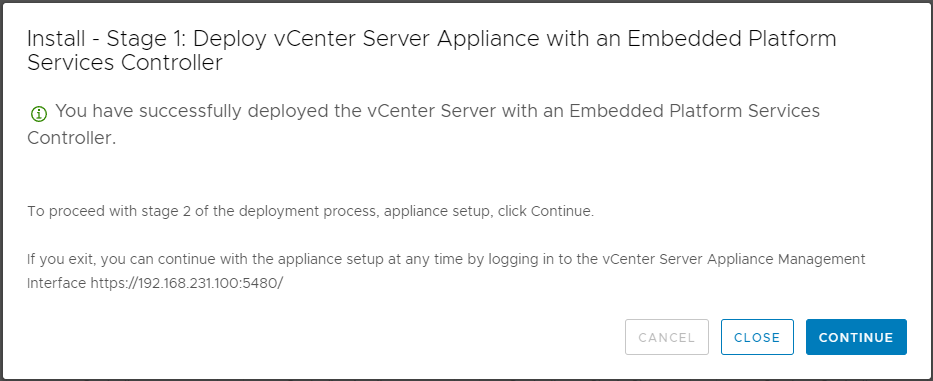
Review settings and click Finish. Wait 5–10 minutes for deployment. Once done, click Continue.
Stage 2: Appliance Setup
Configure time synchronization, SSO domain, and finalize the vCenter setup.
1. Configuration
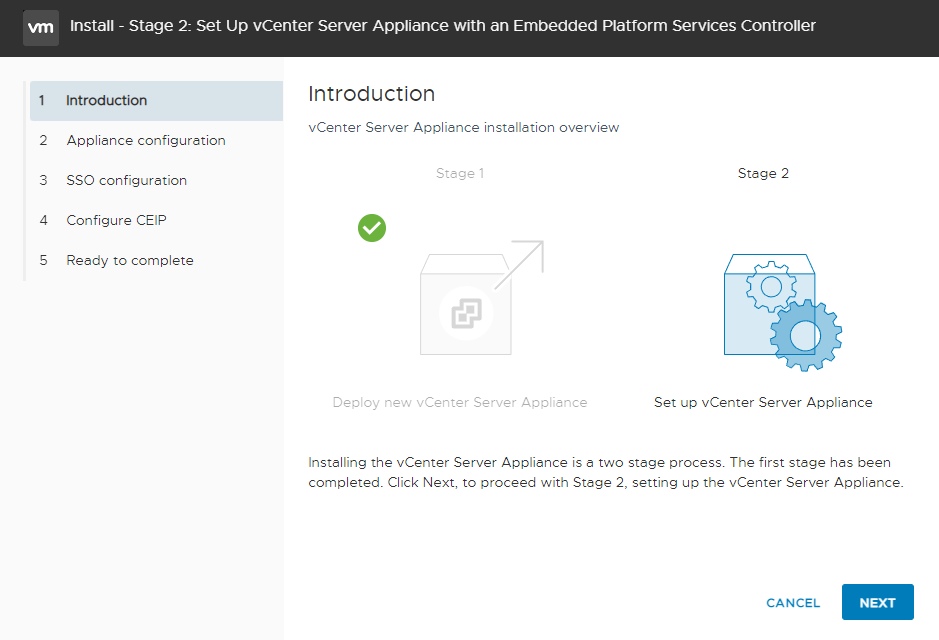
Click Next on the Introduction.
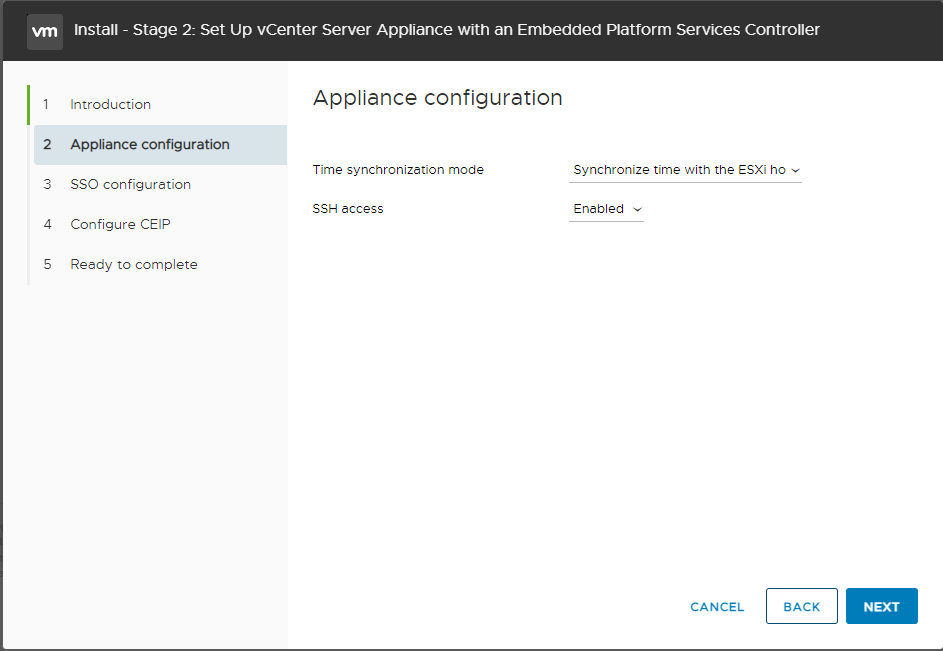
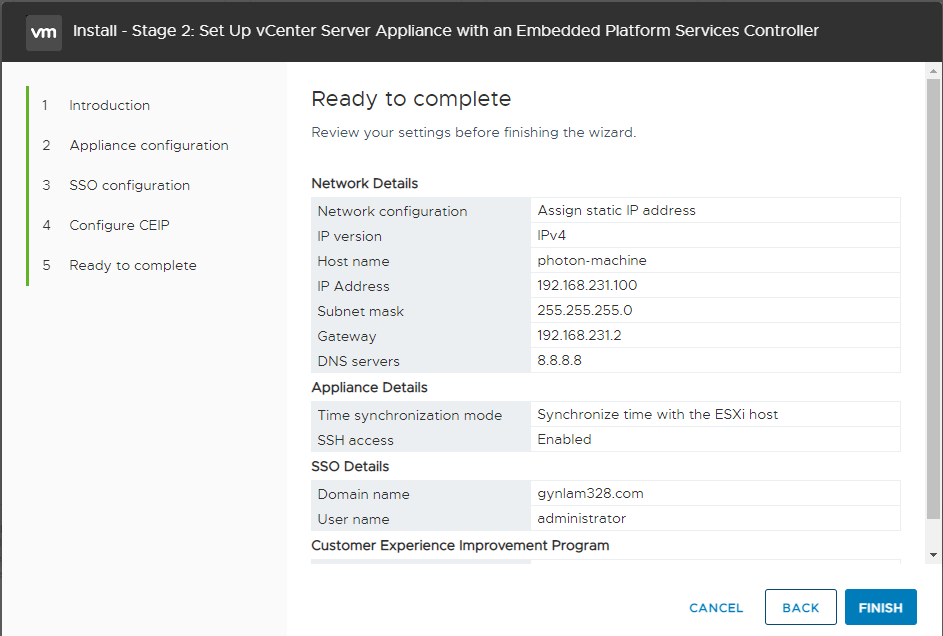
Time Sync: Sync with ESXi host. SSH Access: Enabled (Recommended for HA/Troubleshooting).
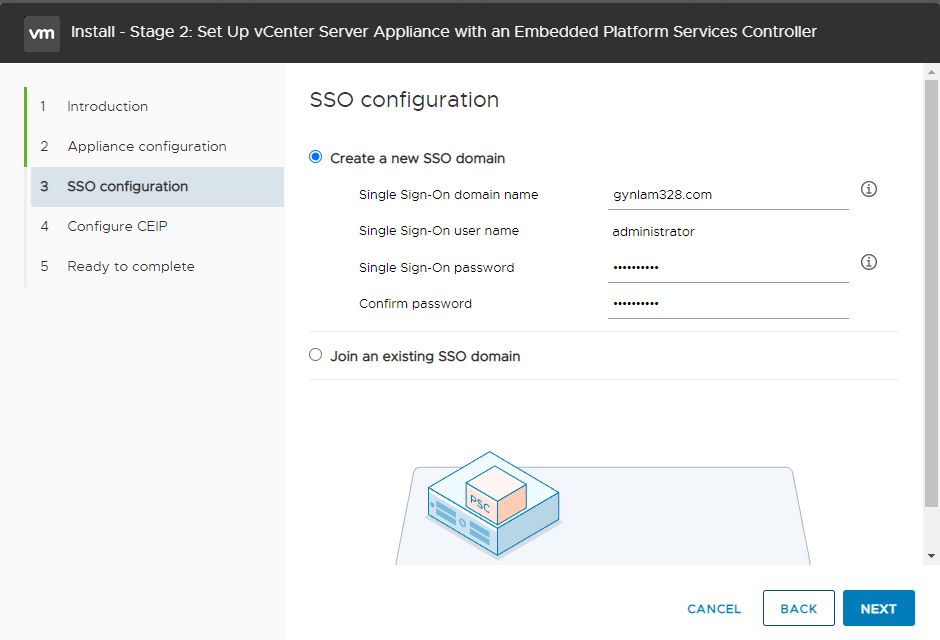
2. SSO Domain
Create a new SSO domain (e.g., gynlam328.com). Note that this name applies permanently.
3. Finalize
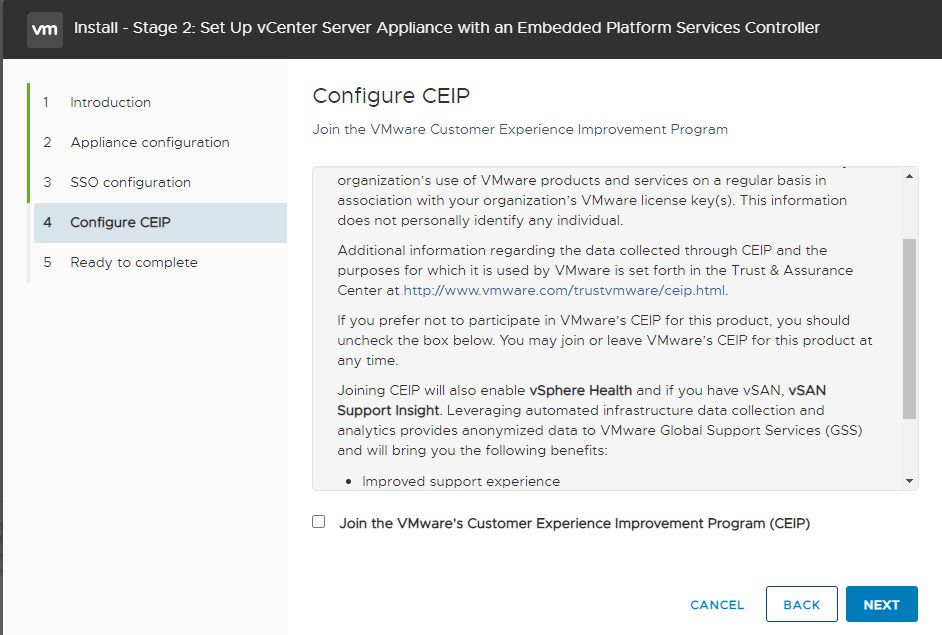
Uncheck "Join VMware's Customer Experience Improvement Program" (CEIP) for Lab environments.
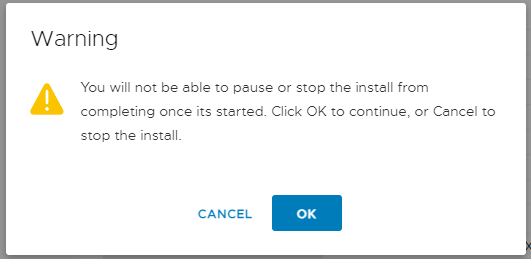
Review and click Finish. Accept the warning dialog.
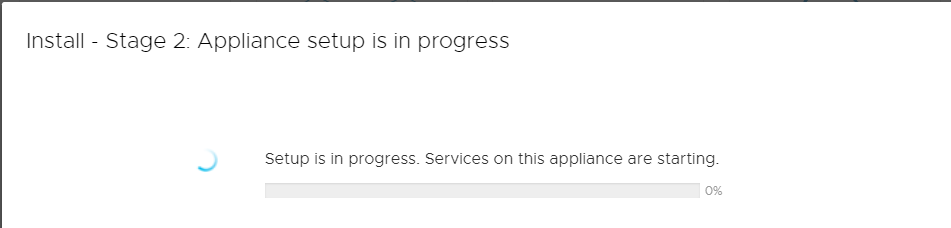
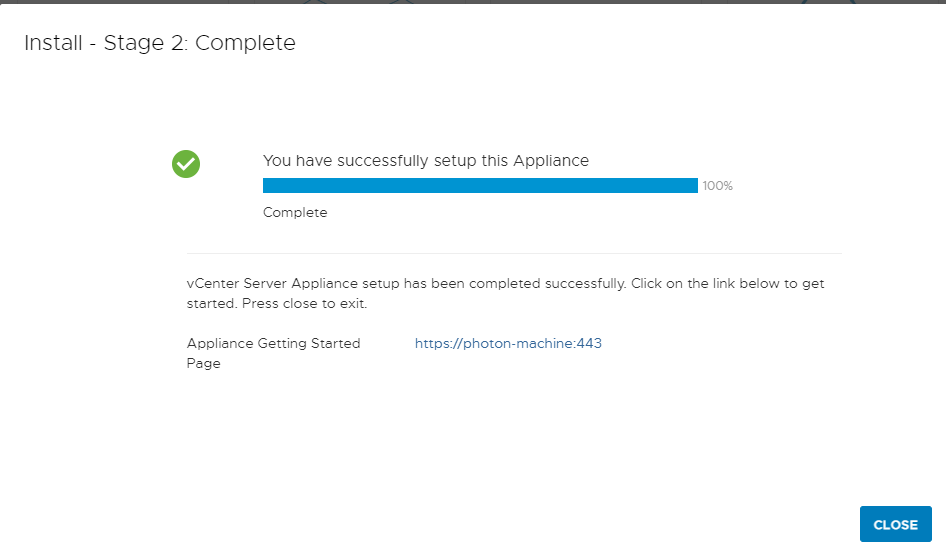
Wait for the setup to complete.
Accessing vCenter
Log in to the vSphere Client and the Appliance Management Interface (VAMI).
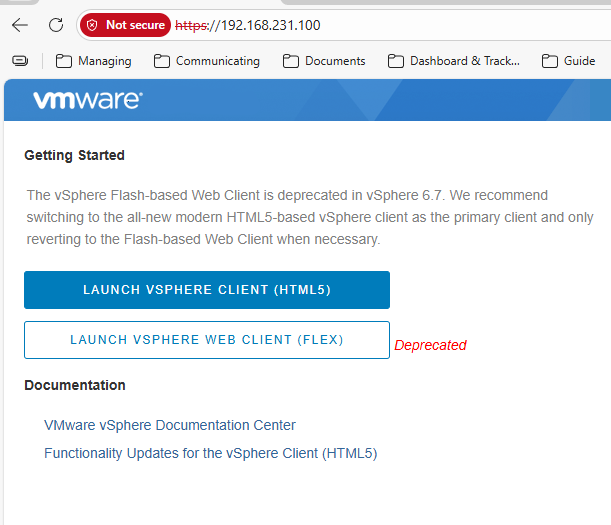
Navigate to https://[Your-vCenter-IP].
Select: LAUNCH VSPHERE CLIENT (HTML5). The Flash/Flex client is deprecated.
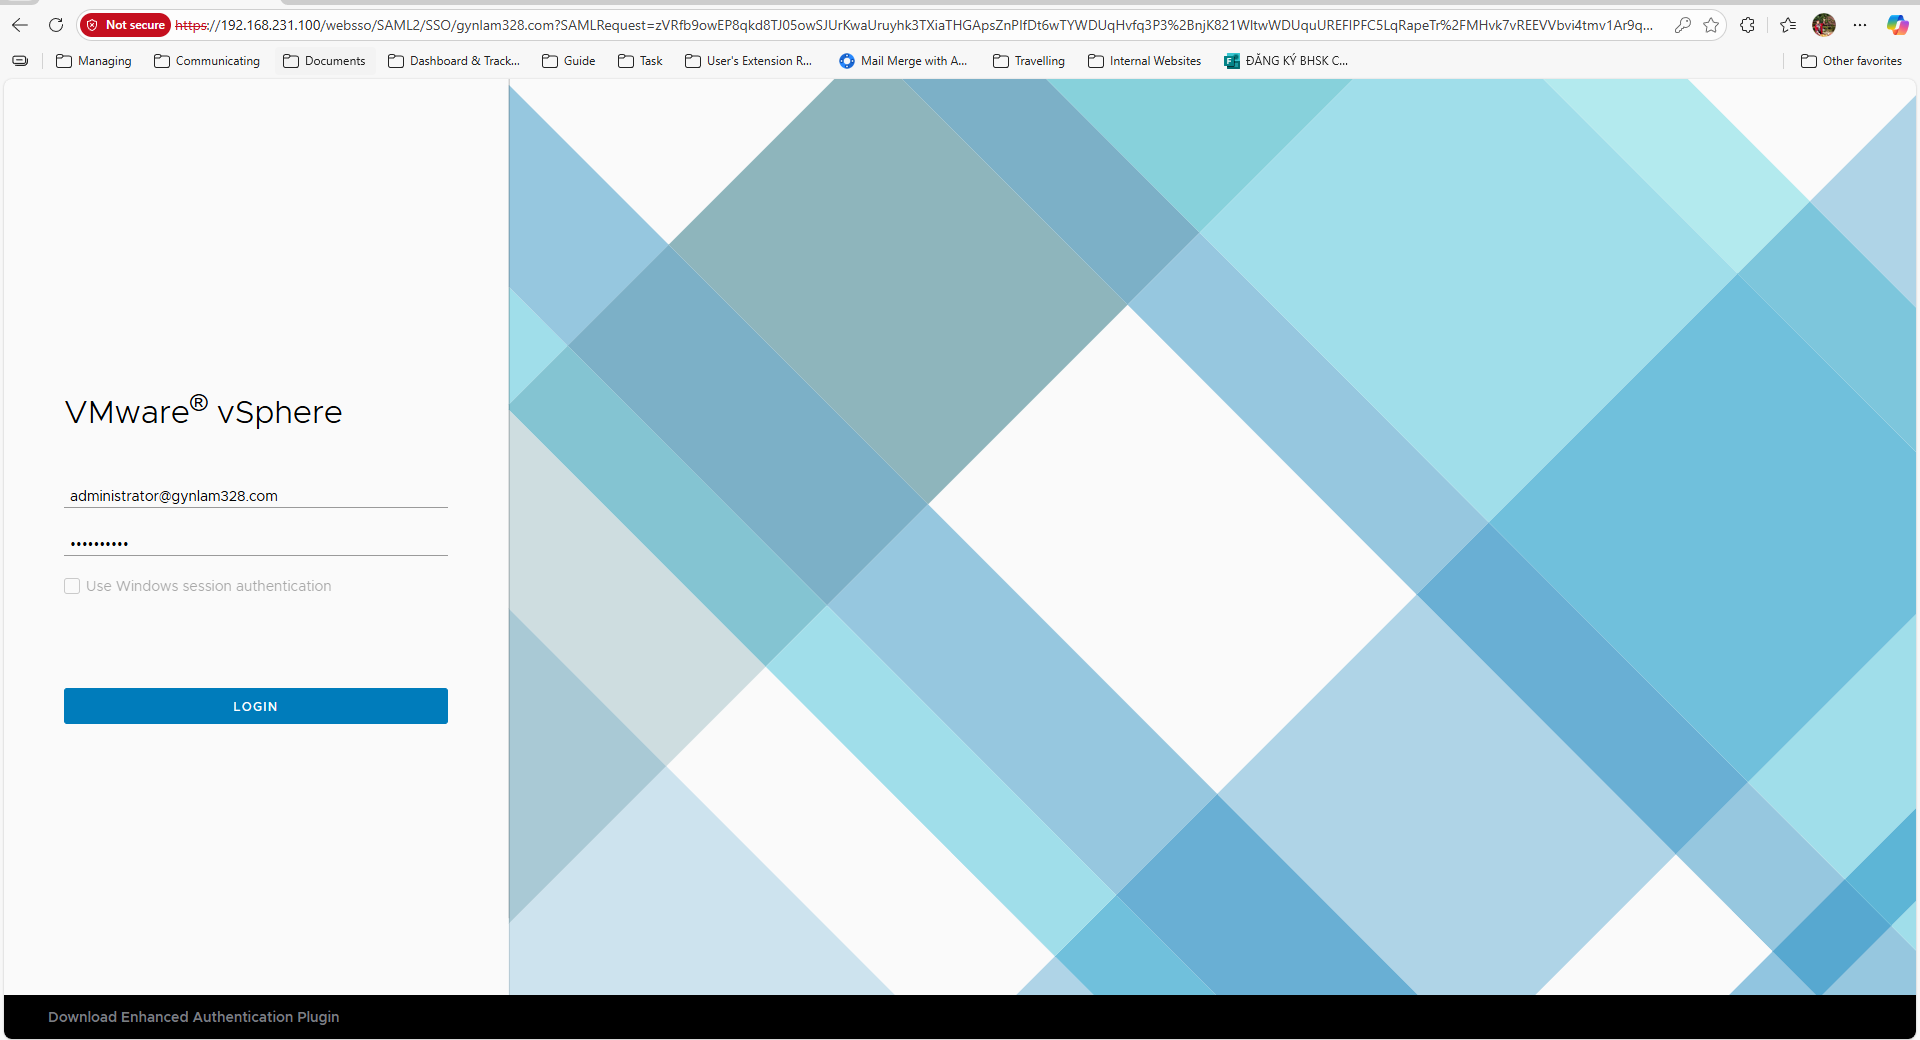
Login credentials:
- User: administrator@[your-domain] (e.g., administrator@gynlam328.com)
- Password: Created in Stage 2.
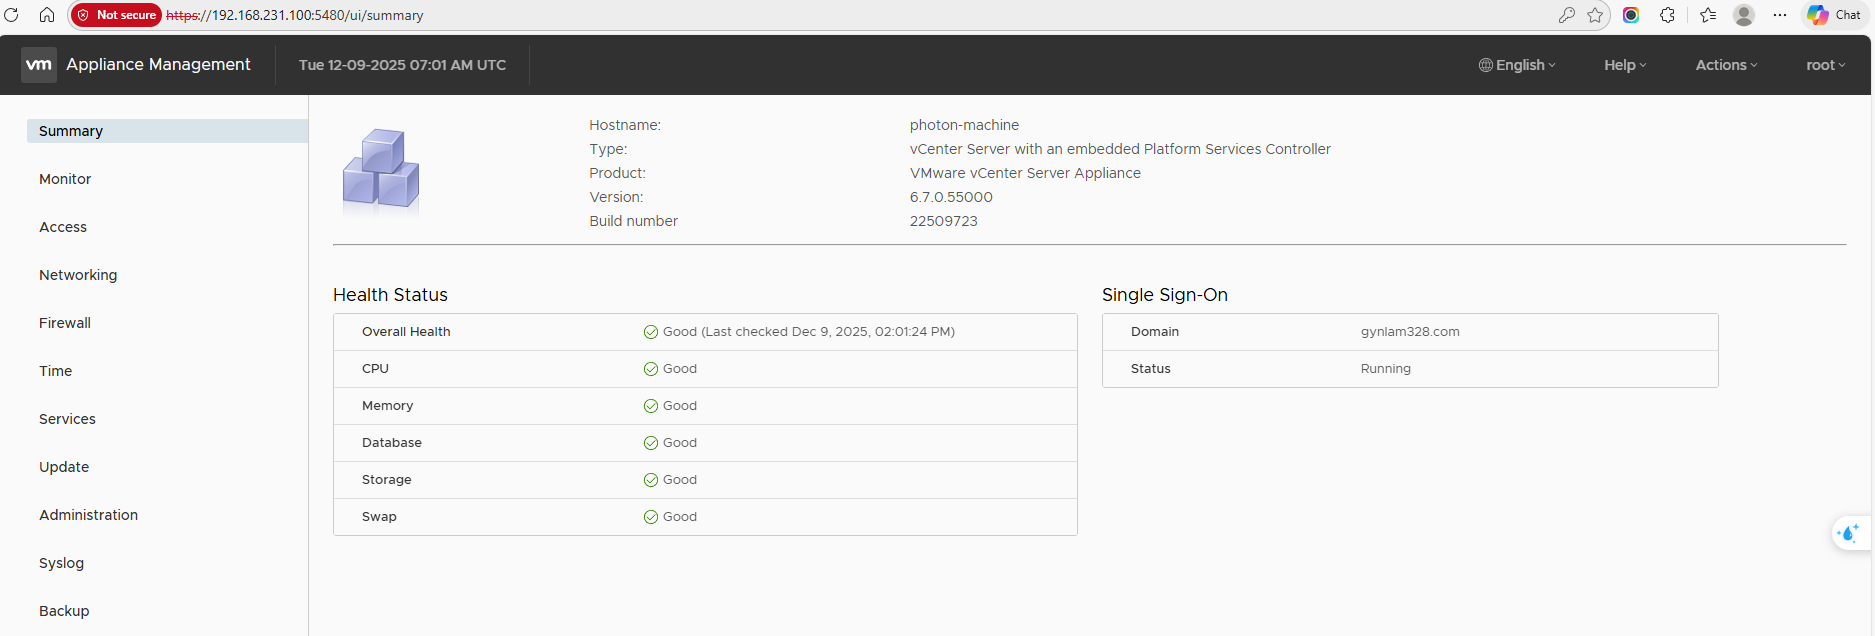
Appliance Management (VAMI)
For system maintenance, access port 5480
(https://[IP]:5480) using the root account.
Get In Touch
Complex infrastructure challenges deserve elegant solutions. Let's realize it together.
gynlam328@gmail.com
Phone
+84-83314-1685
Location
Ban Co Ward - Previously known as District 3, HCMC