System Administration
How to Install VMware ESXi 6.7 (Bare Metal Hypervisor)
Step-by-step guide for deploying VMware ESXi 6.7 on physical servers.
Prerequisites
Installation Requirements
Before installing the hypervisor, you must ensure you have the correct installation media prepared.
- Download: Obtain the official VMware ESXi 6.7 ISO image from HPE or VMware.
- Bootable USB: Use a tool like Rufus to mount the ISO onto a USB flash drive.
- Server Boot: Plug the USB into your server and set it to boot from USB.
Installation Process
Step 1: Welcome and EULA
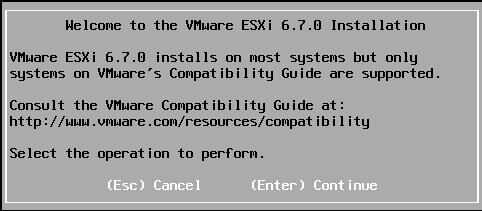
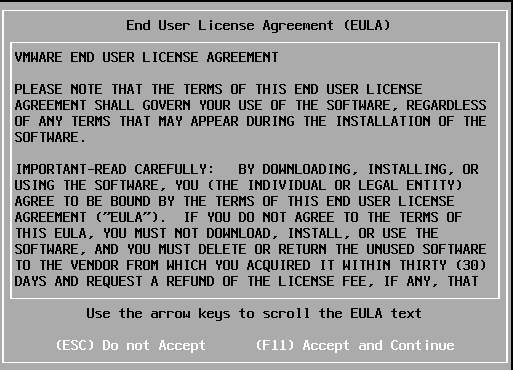
At the initial Welcome screen, press Enter to continue. Carefully review and press F11 to accept the EULA.
Step 2: Selecting Installation Disk
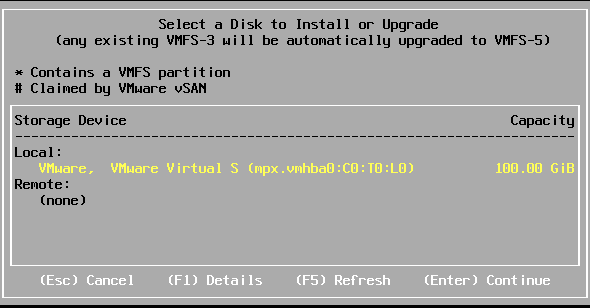
Choose the specific Hard Drive (Local or Remote) where you intend to install the ESXi host OS, and press Enter.
Step 3: Keyboard and Password
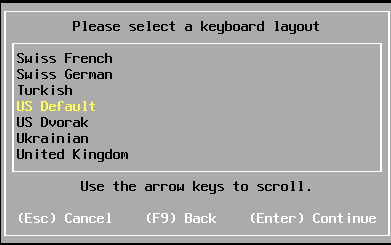
Select the US Default keyboard layout and press Enter.
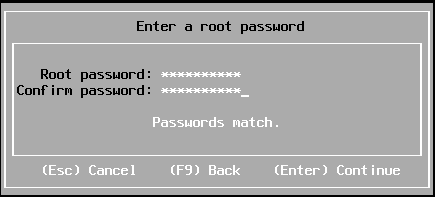
Set a secure Root Password. Remember this credential for future management.
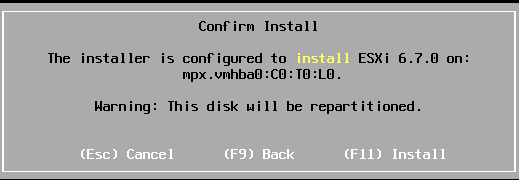
Step 4: Confirm and Install
Review the final confirmation warning screen. When ready, press F11 to begin.
Please wait patiently for the installation progress bar to reach 100%.

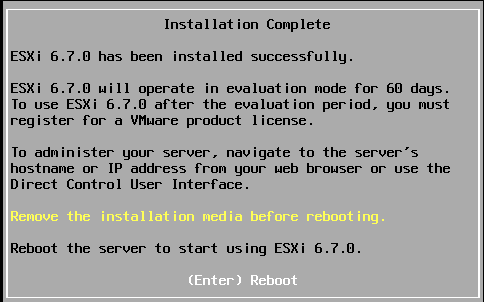
Step 5: Reboot
Once finished, remove your bootable USB stick and press Enter to reboot.
Access and Configuration
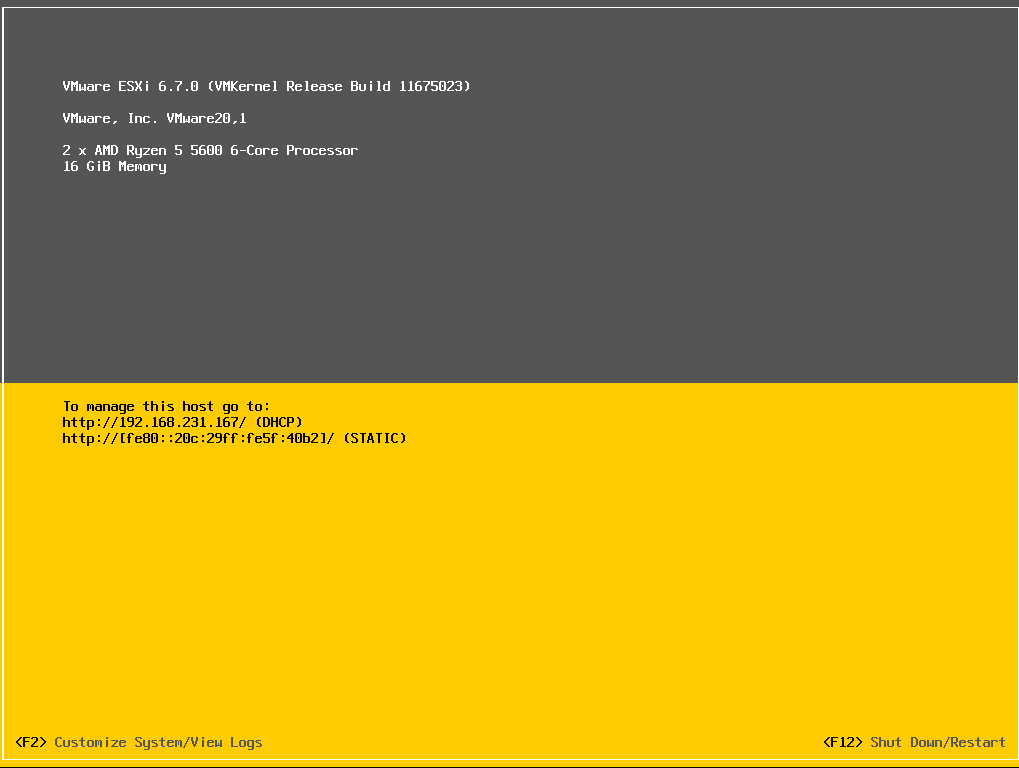
Direct Console User Interface (DCUI)
After rebooting, the DCUI will load. Note the assigned IP address
(e.g., 192.168.231.167).
VMware ESXi Web Client
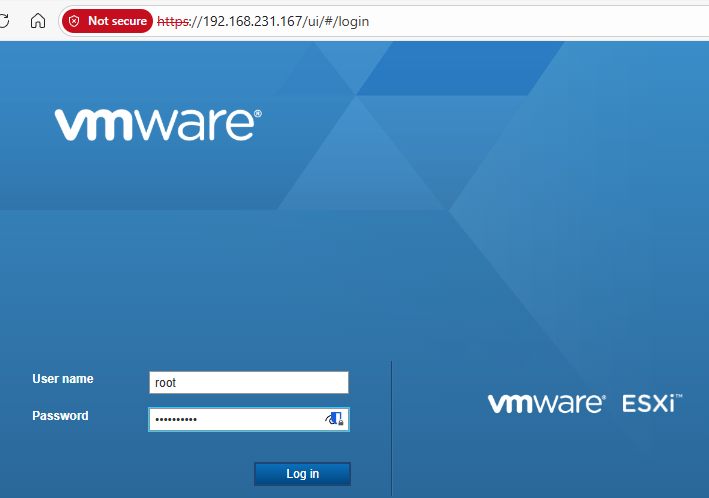
Open a web browser on a separate computer and navigate to
https://IP-Address.
Login using the following credentials:
- User:
root - Password: The root password created in Step 3.
Finalizing Setup
Upon first login, uncheck 'Join the VMware Customer Experience Improvement Program' and click OK.
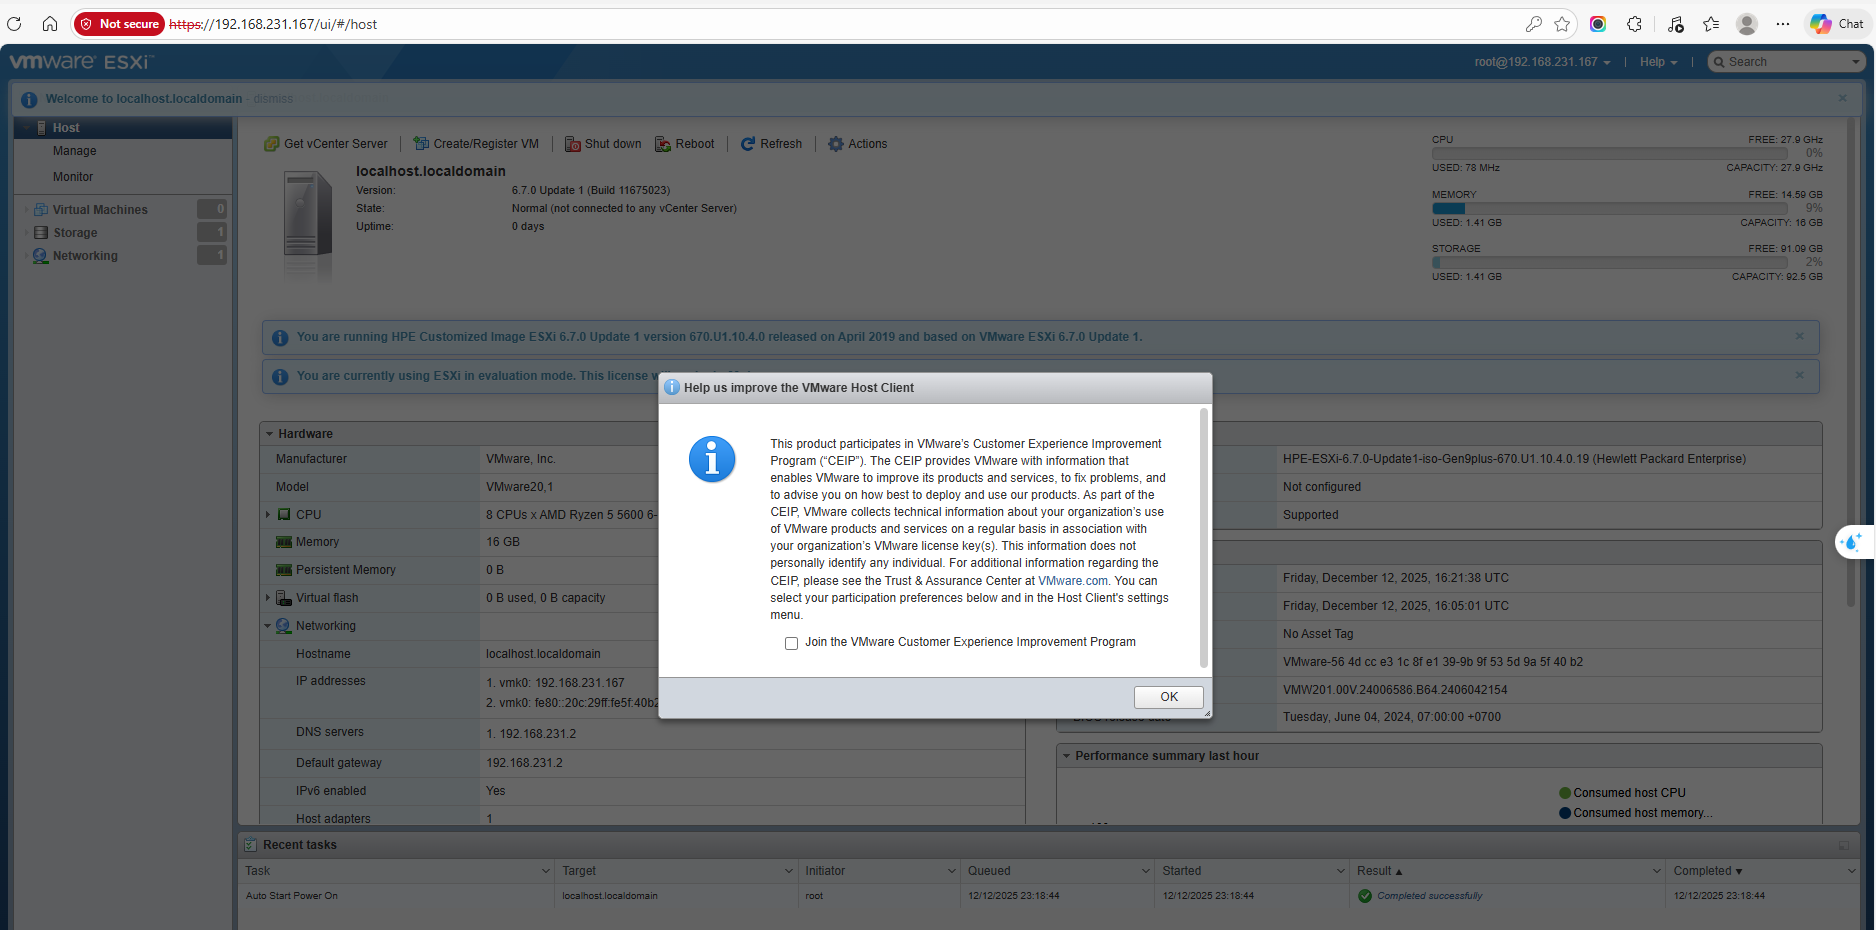
Congratulations! Your bare metal host is now ready to run Virtual Machines!
Get In Touch
Complex infrastructure challenges deserve elegant solutions. Let's realize it together.
gynlam328@gmail.com
Phone
+84-83314-1685
Location
Ban Co Ward - Previously known as District 3, HCMC